
Kumon Fees in Indonesia 2026: Monthly Cost, How the Method Works, and Online Alternatives
Parent Guides12 min
Learn Coding

Fajar Hidayat
Coding Curriculum Team, Algonova
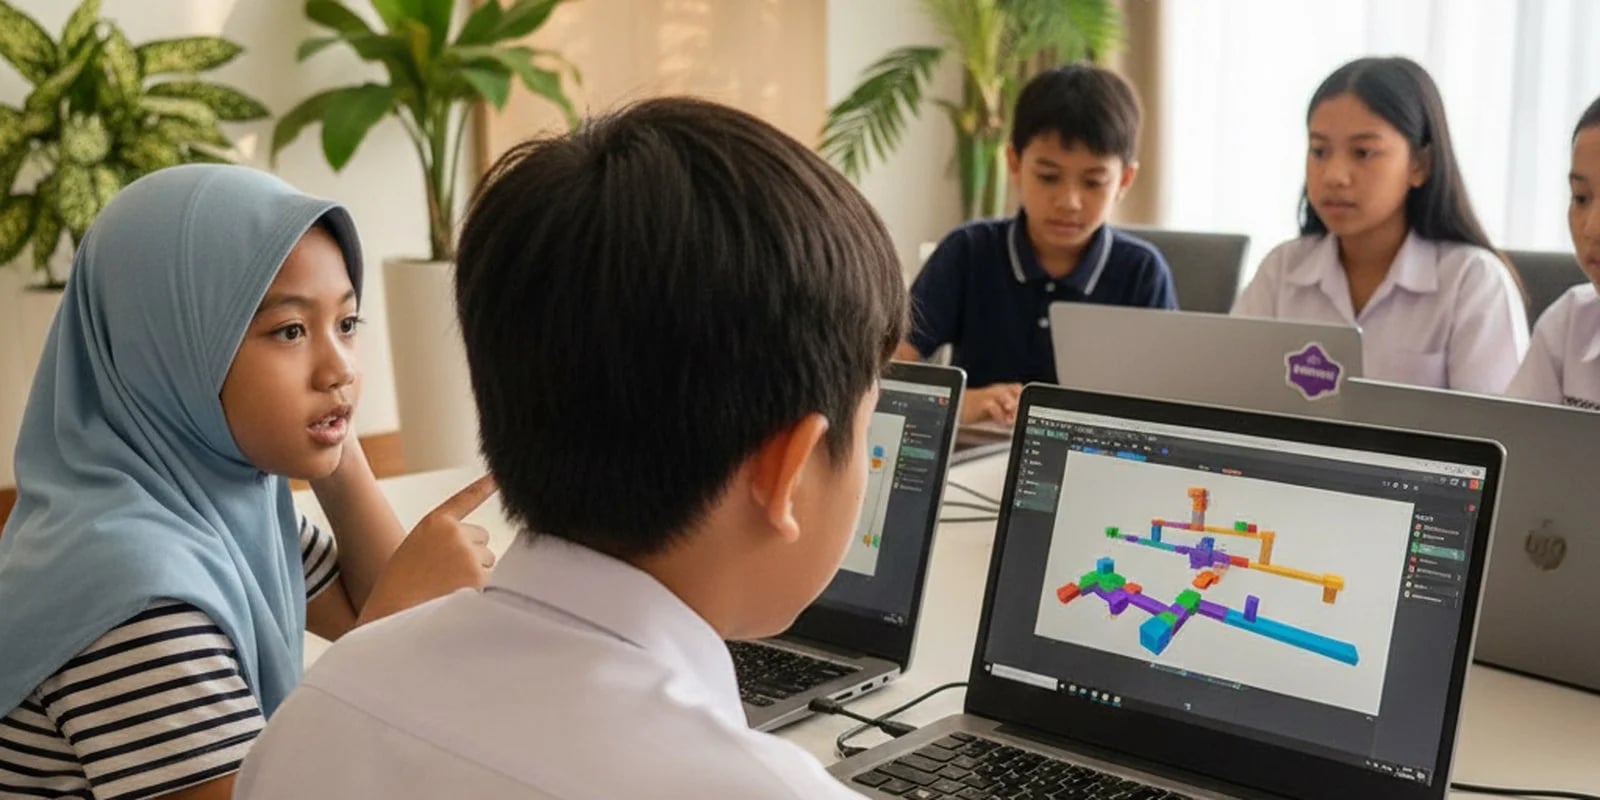
Your child plays Roblox for hours and then suddenly asks: "How do I make my own game?" There is an answer, it is free, and it is easier to get started than most parents imagine.
This guide explains six steps from nothing to a game other people can genuinely play. It is written so a child can follow it themselves, and so you understand what they are actually doing — including the part that most often makes children stop halfway.
Roblox Studio is the official Roblox program for making games, not playing them. In it a child builds a world (a map), places objects, and then brings them to life with scripts.
Three things to know before starting:
Log in to a Roblox account on a computer, open the Create page, and download Roblox Studio. Installation works like any ordinary application. Sign in with the same Roblox account.
When opening a new project, Roblox Studio offers ready-made templates: Baseplate (an empty board), Obby (an obstacle game), Racing, and others.
For a first game, choose Obby. The basic structure is already there, and the child immediately sees something running rather than an empty screen. Starting from Baseplate is the number one reason children give up on day one.
This is the most enjoyable part. The child places Parts (blocks), resizes them, rotates them, colours them through the Properties panel, and arranges obstacles.
Two tools to master first: Move and Scale. The rest can be picked up along the way.
A practical tip: build only five obstacles for a first game. Not fifty. A short game that gets finished is far more useful than a big game that never gets made.
Right-click on a Part → Insert Object → Script. Here is the simplest script whose effect is immediately visible — a block that disappears when touched:
local part = script.Parent

part.Touched:Connect(function()
    part.Transparency = 1
    part.CanCollide = false
    wait(2)
    part.Transparency = 0
    part.CanCollide = true
end)
Four concepts at once sit in these ten lines: a variable (local part), an event (Touched), a function, and a sequence of commands. This is the same foundation used in Python and any other language — only the syntax differs.
Press Play and play it yourself. Something almost certainly will not work: the block does not disappear, the character falls through the floor, the script errors.
This is not failure, this is the job. Open the Output window — that is where Roblox Studio writes error messages along with their line numbers. Reading an error message and fixing it is the skill actually being trained, and it matters far more than memorising syntax.
File → Publish to Roblox. Give it a name, set it so it can be accessed publicly, and the game immediately has a link that can be shared with friends.
This moment matters psychologically: the child turns from a player into a maker, and the result can be shown to others.
1. Starting with too big a project. "I want to make a game like Brookhaven." Games like that are built by teams over years. A child who starts there gives up within a week.
2. Copying scripts without understanding them. Copy-pasting from YouTube gives a fast result, but the moment something errors, the child is stuck, because they do not know which part does what.
3. Stopping at the first error. Errors are a normal part of the process, but they feel like a verdict if nobody explains that every programmer works this way every day.
The third mistake is the one that most often ends the story — and it is precisely the easiest to overcome when someone is there to explain.
Around 8–9 years old for building maps and using templates. Around 10–12 years old for writing Lua scripts seriously, because at that age a child can hold branching logic in mind and see through a project that runs across several sessions.
Below the age of 8 it makes more sense to start with block-based programming and move to Roblox later.
Some children get along on their own with YouTube, and that is great. Some stop at step four or five — not because they cannot do it, but because there is nobody to answer "why is my script erroring" at that exact moment.
In Algonova's Roblox and game design classes children work directly with a teacher: designing the game, writing scripts, and fixing what does not work — until the game is genuinely finished and playable. For ages 10–14, one-to-one private, mini group, and group formats are available.
The first class is free: a 60-minute master class with a teacher, in which your child builds something that runs and you see for yourself whether the format suits them. There is no obligation to continue.
If your child is younger and not yet ready for text scripts, starting with coding classes for SD children is a better fit.
Roblox Studio is free, runs on a computer, and a first game can be finished across a few afternoons. The key is not talent but three things: start from a template, make something small and finish it, and do not stop at the first error.
A beginner starts making a Roblox game by installing Roblox Studio for free, opening a template, and changing one small thing at a time before writing any Lua scripts. Begin with a simple obby or a small map, then add scripts gradually as confidence grows. For guided, step-by-step learning with a teacher, see the coding classes for ages 5 to 17, or try a free coding class so your child builds a first project in a diagnostic session.
Yes, it is completely free to download and use on a PC or Mac. A child can build and publish games at no cost. Roblox only takes a share if a published game earns Robux.
No. Roblox Studio runs on a computer only — PC or Mac. To build worlds and write scripts, a child needs a large screen and a mouse. Playing Roblox works on a phone, but making it does not.
No. A child can start with a ready-made template, placing objects and building a map without a single line of code. Lua scripts are added gradually once the child is ready — and it is the building process itself that teaches the logic.
Lua — a text-based programming language, not blocks. For a first game a child only needs a few lines. The concepts used in it (variables, events, functions, sequences of commands) are the same as those in Python and other languages.
Around 8–9 years old for building maps and using templates, and around 10–12 years old for writing Lua scripts seriously with guidance. Below the age of 8 it makes more sense to start with block-based programming.
A simple Obby-type game with five obstacles can be finished across a few afternoons. What usually stretches the process out is not technical difficulty but too much initial ambition — a child who immediately wants to build something the size of Brookhaven usually gives up within a week.
Errors are a normal part of making games, not a sign of failure. Roblox Studio writes error messages along with their line numbers in the Output window — reading them and fixing them is in fact the main skill being trained. Children most often stop not because they cannot do it, but because nobody has explained this to them.
Blog

Algonova worldwide
Contact
Whatsapp: +62 21 50996971
Email: info@algonova.id
Address
Coworking Area, Gedung IT 6 Lantai Dasar, Nongsa Digital Park, Jalan Hang Lekiu, Kelurahan Sambau, Kecamatan Nongsa, Batam, Indonesia Directorate General of Consumer Protection and Trade Compliance – Ministry of Trade of the Republic of Indonesia. WhatsApp Ditjen PKTN: 0853-1111-1010.
PT Algonova Indonesia Cerdas All rights reserved 2026
